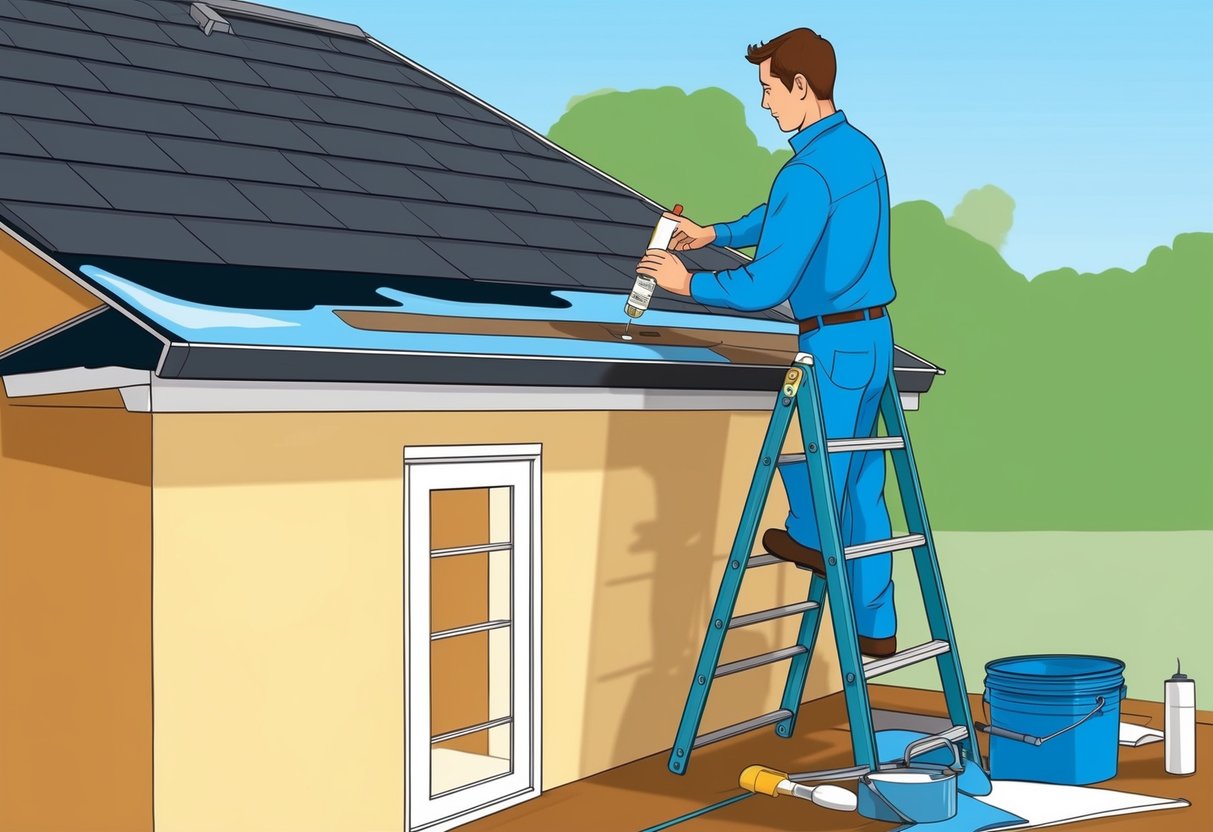
Step-by-Step Process to Repair the Leak
Repairing a leaky roof at home involves careful removal of damaged materials and precise use of roofing tar and patches.
Proper sealing at critical areas is also important.
Removing Damaged Shingles or Materials
The first stage in fixing a roof leak is to find and carefully remove any shingles, tiles, or roofing materials that are damaged or compromised.
This can be done using a pry bar or flat tool to lift the edges and ease out the nails.
It’s important to remove all debris and loose nails from the site before continuing.
Shingles that are cracked, curled, or rotted must be fully taken out so that the patch adheres securely.
Clearing the area ensures there is no underlying moisture or mold trapped beneath the surface.
Always inspect the wood decking below for signs of rot and replace as needed to provide a reliable base for repairs.
Safety is crucial, so anyone working on a roof should use non-slip shoes, gloves, and, where appropriate, safety harnesses.
Simple steps like these help prevent injuries.
Applying Roofing Tar and Patches
Once the damaged area is clear, the next step in roof leak repair is to apply roofing tar and lay patches if needed.
Roofing tar acts as a waterproof barrier and should be spread evenly across the exposed space using a putty knife or trowel.
For small holes or tears, a generous amount of tar can be applied directly.
Larger areas may require a patch made of matching roofing material.
Press the patch firmly into the tar, then cover the edges to create a watertight seal.
Rolling or pressing out air bubbles ensures better adhesion.
Let the tar set before proceeding to the next step so the repair remains stable and effective.
For further guidance, visit this step-by-step roof leak repair guide.
Sealing Around Flashings and Roof Fixtures
Many leaks originate around flashings and fixtures such as chimneys, skylights, or vent pipes.
Sealing these areas is critical to long-term roof protection.
Clean any old caulking, corroded metal, or debris before applying new sealant.
Use a high-quality roofing sealant or roofing tar and run a generous bead along the edges of the flashing or fixture base.
Press it in to fill any gaps or joints fully.
Smooth the sealant with a putty knife for even coverage, making sure all vulnerable areas are protected against water intrusion.
Regular inspection and maintenance of sealed areas can help prevent new leaks in the future.
Small gaps can quickly become major leaks if not addressed, so it’s essential to check these spots during every roof repair.
For more, see professional roof repair recommendations.
Addressing Roof Leaks Around Skylights and Flashings
Leaks near skylights and flashing are two of the most common challenges in roof repair.
These areas demand special attention because improper installation or aging materials can let water enter even a new roof.
Inspecting and Repairing Skylight Seals
Skylights can leak due to cracked or deteriorated seals, loose fasteners, or damage to the surrounding roofing materials.
To inspect, carefully check both the interior and exterior edges of the skylight.
Look for visible gaps, old caulk, or water stains.
If a leak is found, remove old sealant and clean the skylight frame.
Apply a high-quality, silicone-based roof sealant around the perimeter, making sure it completely covers any gaps.
For best results, use a sealant specified for outdoor roofing and gutter repairs.
Replace or tighten any missing or loose screws.
If the problem persists after sealing, check the skylight glass and frame for cracks.
In some cases, a faulty skylight may need replacement to prevent recurrent leaks.
Homeowners interested in a practical guide can review tips for repairing a leaking skylight and learn about suitable sealants on reputable home repair sites.
Properly Fixing Damaged Flashings
Roof flashings direct water away from joints and transitions, especially around skylights, chimneys, and vent pipes.
Flashings may fail due to age, rust, improper installation, or shifting roofing materials.
Signs of trouble include rust, visible gaps, or bending along the metal pieces.
For minor damage, gently lift the surrounding shingles and remove old caulk or debris.
Clean the flashing thoroughly and apply roofing cement under its edges for a snug seal.
Press the flashing back into place, ensuring full contact with the roof surface, then replace the shingles.
If flashing is significantly corroded or cracked, replacement is often necessary.
Cut and fit new metal flashing, secure it with roofing nails, and seal all seams with a high-quality caulk or cement.
For step-by-step visuals and further details, see tips on roof leak repair around skylights and flashing.
Prompt repairs in these areas help prevent water damage inside the home and prolong the roof’s service life.