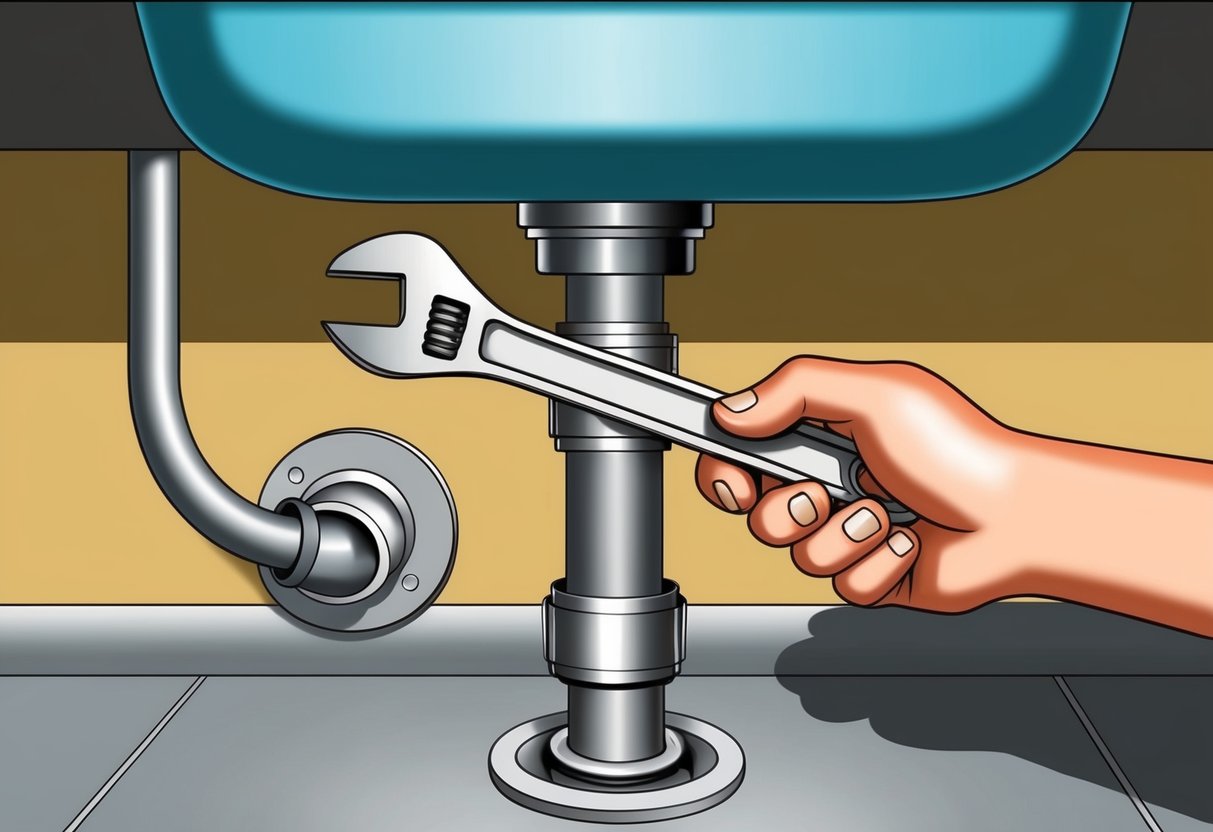
Quick Fixes for Leaky Faucets
A leaky faucet can waste a significant amount of water and cause your water bill to rise. Fixing dripping or leaking faucets is straightforward with basic tools and replacement parts.
Stopping a Dripping Faucet
The first step to address a leaky faucet is to shut off the water supply to the affected fixture. Look for the shutoff valves under the sink and turn them clockwise.
If there are no local valves, use the main valve for the house. Use a flathead screwdriver or an Allen wrench to remove the handle.
Once removed, inspect the faucet to identify whether it’s a compression, cartridge, ball, or ceramic disk faucet. Knowing the type will guide you in the right repair method.
Check for visible mineral build-up or corrosion, which may indicate the part needing replacement. Have a towel handy to catch water and keep small parts organized.
Carefully disassemble the faucet, inspect the internal components, and pinpoint worn or broken parts that cause drips. For illustrated steps and additional guidance, Home Depot’s guide on how to fix a leaky faucet offers clear instructions.
Replacing Worn Washers and Seals
Over time, washers and O-rings inside faucets deteriorate, leading to persistent leaks. For compression faucets, replacing the rubber washer at the base of the stem is often enough.
In other designs, focus on O-rings and cartridge seals. To replace these components, use pliers or a wrench to remove the stem or cartridge.
Inspect all moving parts for cracks or flattening. Always bring the old washer or cartridge to the hardware store to match the new part precisely.
Install the new washer, seal, or cartridge and reassemble the faucet. Turn on the water slowly and check for leaks.
Properly installed components usually stop dripping immediately and help extend the faucet’s lifespan. For further DIY instructions and troubleshooting, see this step-by-step faucet repair guide.
Solving Common Drain Clogs
Drain clogs are among the most frequent plumbing problems in households. Prompt action using reliable DIY techniques can help save money and restore normal water flow without needing a professional.
Unclogging Drains Without Chemicals
Manual methods are often best for dealing with clogged drains. For instance, a plunger can quickly clear simple blockages in sinks or tubs.
By sealing the overflow opening and using firm, repeated strokes, most minor obstructions can be shifted. If the clog is more stubborn, a drain snake or wire hanger might dislodge or pull out hair, soap scum, or other debris far down the pipe.
For kitchen sinks and bathroom drains, pouring a kettle of boiling water slowly down the drain can break up grease, soap residue, or organic matter—one of the simplest ways to remove minor clogs without harsh chemicals. If the drain is still slow, try a mixture of one cup baking soda followed by one cup vinegar.
Wait 15 minutes, then flush with hot tap water. This method can help break down buildup in pipes, providing a safer option over caustic store-bought cleaners.
Preventing Future Clogged Drains
Routine prevention is essential to keep drains flowing smoothly. One of the most effective strategies is to use mesh screens or drain guards over sink and tub drains.
These inexpensive items prevent hair, food scraps, and other debris from entering pipes. Avoid pouring grease or oil down kitchen drains, as these substances can solidify and cause tough clogs.
Regularly flushing drains with hot water helps prevent buildup, and using a monthly baking soda and vinegar rinse keeps pipes clear. For more tips, visit this guide on DIY solutions for household plumbing issues.
Addressing Low Water Pressure Issues
Low water pressure can make daily tasks like showering, washing dishes, and doing laundry frustrating. Understanding the root causes and knowing where to start are key to restoring normal flow.
Diagnosing Low Water Pressure
Identifying where low water pressure is occurring helps zero in on the problem. Check if the low pressure affects the whole house or just specific fixtures—such as a bathroom sink or shower.
If only one faucet or showerhead is affected, the issue often lies within that fixture. When the entire home experiences low pressure, inspect the main shut-off valve to ensure it is fully open, as a partially closed valve restricts flow.
Sometimes, a pressure regulator malfunctions, causing inconsistent or low pressure. This component, often located near the main water line, needs occasional adjustment or replacement.
Checking for hidden leaks is also crucial. Burst pipes, wet spots on walls, or unusually high water bills can indicate leaks that contribute to overall pressure problems.
For more detailed steps on pinpointing the cause, visit this how-to guide on fixing low water pressure at home.
Fixing Aerators and Showerheads
Faucet aerators and showerheads commonly collect mineral deposits that reduce water flow over time. Unscrew the aerator from the faucet or remove the showerhead, then inspect them for calcium or lime buildup.
Soak the parts in a mixture of equal parts vinegar and water for 30 minutes to dissolve residue. Use a small brush or toothpick to clear any remaining debris.
Once cleaned, reinstall the component and run the water to check for improved pressure. If cleaning doesn’t help, replacement parts are readily available and inexpensive.
Regularly maintaining these fixtures helps prevent future blockages and ensures steady water pressure. These quick steps are some of the most effective ways to resolve fixture-based low pressure, as explained in this list of simple solutions for low water pressure.