
Common Culprits: Loose Floorboards and Fasteners
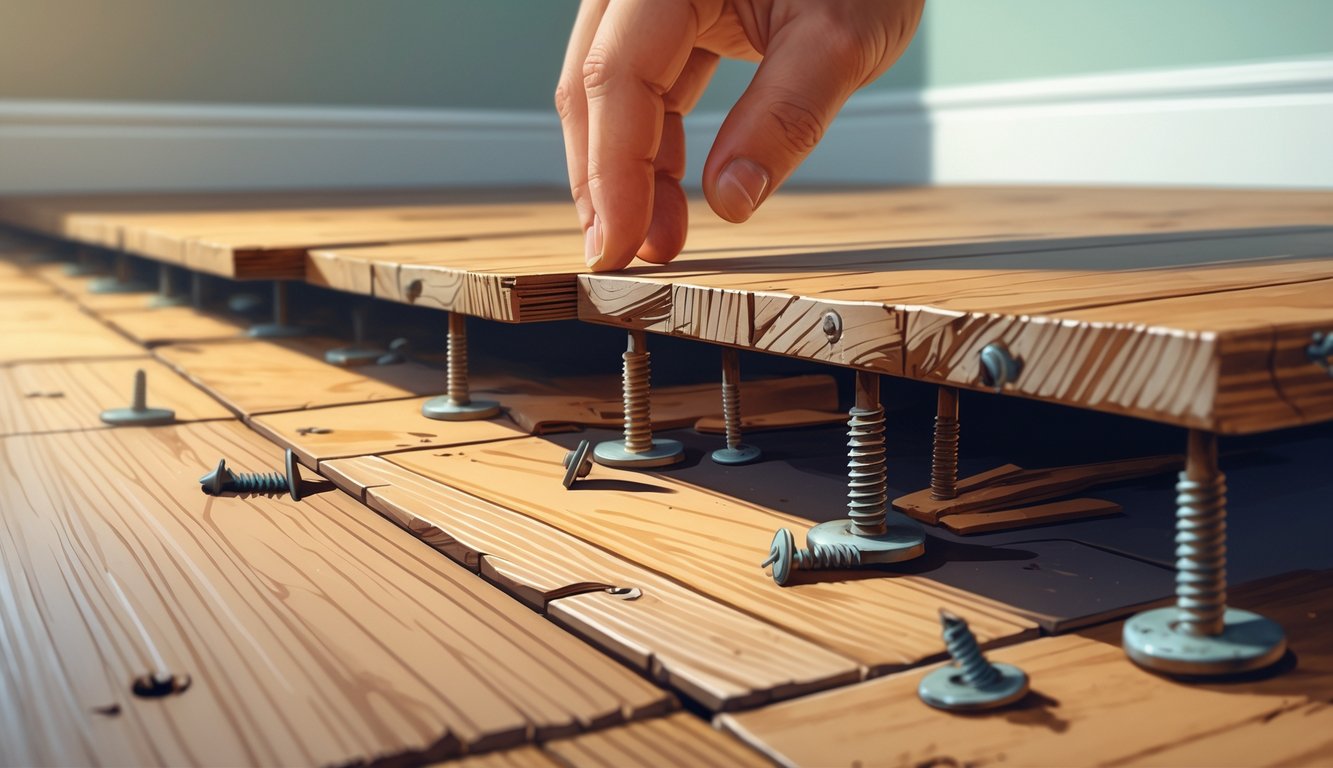
Already tripped over that squeak? Yeah, me too. I keep finding loose fasteners and half-buried screws in places I never expect. It’s always rogue nails, pulled threads, and the floor’s version of a wardrobe malfunction: surprise noise underfoot.
Loose Screws and Hardware
Every time I pry up a floorboard, I expect drama—usually it’s just another slipped screw. There’s this myth that longer screws (#8s, deck screws, you name it) fix the groan forever. Nope. I read in this flooring guide that even new fasteners loosen as the boards contract in winter.
I’ve seen pros swear by glue—yeah, it’s quiet for a week, then spring comes. Expansion gaps open, and those snug screws rattle like keys in a junk drawer. Sometimes the loose hardware just chews up the wood, which no one mentions in the instructions.
Wish there was a magic fix (like a lint roller for subfloors—why isn’t that a thing?), but really, you’ve just got to check screw heads every few months. Otherwise, you’re chasing phantoms.
Problems with Wood Screws and Nails
Nails? Never trust ‘em. I yank up another oak plank—again—and find finish nails that look like they’ve been there since the Eisenhower administration. Rusty, losing grip after years of foot traffic. Two steps near the kitchen and bam, there’s the creak.
Wood screws—especially those #10s—promise the world, but after too many repairs, the holes are so stripped you could fit a pencil. It’s not just size; cheap hardware and trying to drive screws through old subfloor doesn’t help. No pro I know uses builder-grade fasteners anymore. We grab coarse-thread screws made for flooring. Does it help every single time? Honestly, not really. Climate swings and shifting seasons always win.
Repair people say high-traffic spots—hallways, doorways—go first. It’s not about skill, just endless repetition. Tiny movements, splits, more squeaks. I’d rather have a stuck closet door than another bent nail, but apparently fate disagrees.
Signs of Loose Floorboards
Sometimes I stomp around and miss it, but then there’s that weird soft spot. Not mold, not water, just a weird give—like memory foam that’s given up. I see uneven seams, light sneaking through at sunset—never a good sign. Boards shifting corner to corner, dust puffing up between planks? Yeah, bad news.
My neighbor, who’s supposedly been doing this for 20 years, taps every square and listens for the “click.” Sometimes you spot a gap wide enough for a credit card. Other days I run the vacuum, hear a rattle, think I’ve found it. Usually not. If it moves even a millimeter, friction starts up—especially where nails or screws barely hold anymore.
No checklist, just gut feeling. You can read about this in yet another repair overview. Slight movements, often invisible, are what’s lurking under every step. Ignore that first squeak? Always regret it.
Tools and Supplies for Fixing Squeaky Floors
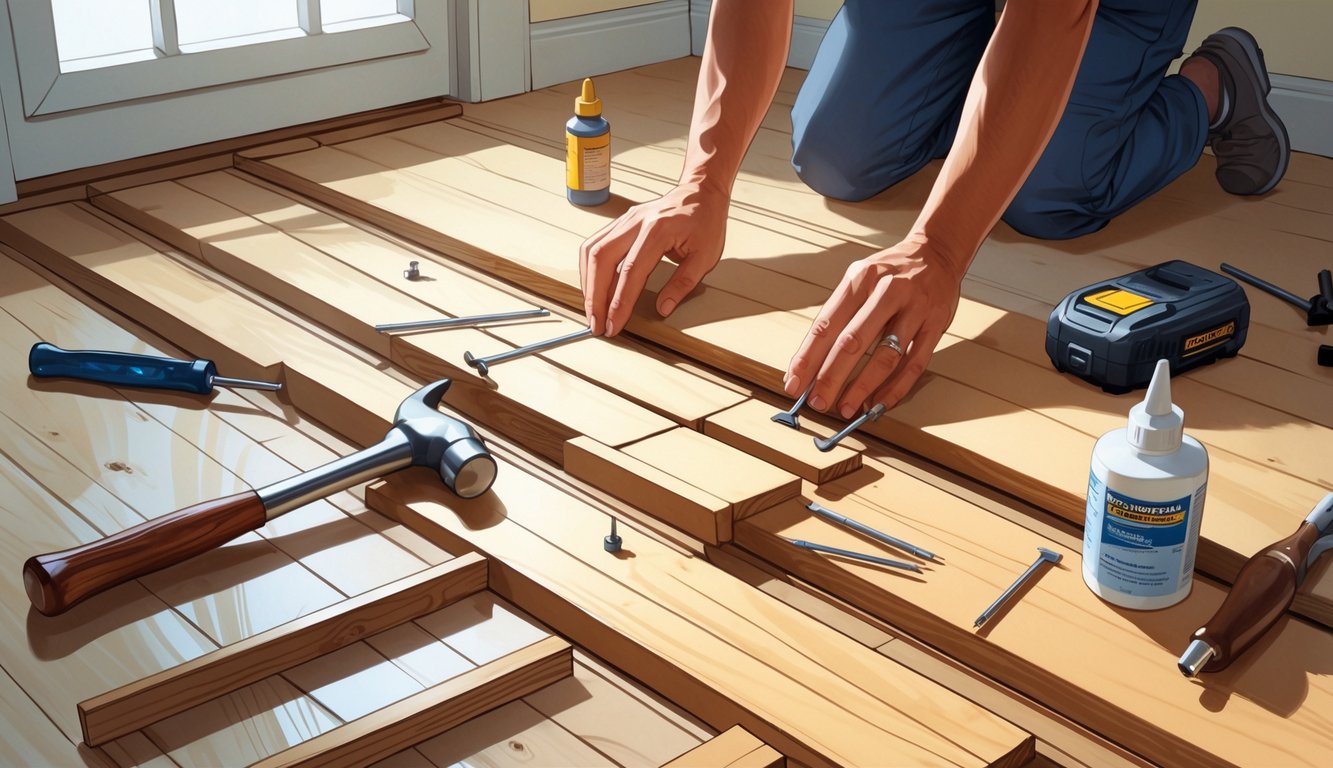
Every time I try to tackle a floor squeak, I never just grab whatever’s closest—someone once told me WD-40 works, but I’m not about to spray an entire room. You need more than hope: actual tools, weird kits, patience, and maybe a little misplaced optimism.
Essential Hand Tools
Honestly, nothing goes right if I don’t have a hammer and a halfway decent screwdriver—flathead, Phillips, whichever one I can actually find. Stud finder? Makes me feel like I know what I’m doing, but it always beeps everywhere except where I want. Still keep it, just in case.
Pilot holes matter. If you skip them, the wood splits and you end up yelling at floorboards. Shims? Lifesavers. Wedge them between subfloor and joist and sometimes, just sometimes, the squeak shuts up. I never trust just one fastener—always keep extra screws close. Nails? Forget it.
No DIY list ever warns you: don’t use a butter knife as a chisel. It’ll end badly. My must-haves live in a dusty canvas tool bag filled with receipts and an Allen key set that never has the right size.
Specialty Products: Squeak-Ender and Squeak-No-More
Let’s be real, specialty kits look like gimmicks—until you’ve failed five times, then they’re genius. The Squeak-No-More system—with its weird snap-off screws—actually works. Drives screws through hardwood, top snaps off, and you can barely tell. Floor’s quieter, still not perfect, but I’ll take it.
Squeak-Ender? It’s like a weird bracket and bolt combo that pulls subfloor to joist. Great if your crawlspace isn’t full of spiders. An installer online once said, “If you spend more than 20 minutes on one squeak, use the kit. Life’s too short.” He’s right. Sometimes they come with the right driver, so you don’t waste time hunting for bits.
People argue online about which kit is best—Squeak-No-More for carpet, Squeak-Ender for crawlspaces. Either way, I end up less annoyed and with fewer new squeaks, so that’s a win in my book.
DIY Solutions for Squeaky Floorboards

Look, anyone who claims you can just slap a single product on a squeaky floor and—poof—problem solved? Yeah, I don’t buy it. My hardware guy basically laughed in my face when I asked if glue really works long-term. He said unless you mess with the structure, you’re patching, not fixing. Funny how nobody mentions that in those shiny YouTube tutorials, huh? Turns out, it’s all about how you use stuff—adhesives, shims, fillers—not which overpriced brand you grab off the shelf.
Using Construction Adhesive and Carpenter’s Glue
Ever kneel on a freezing subfloor, poking around for daylight under the hardwood? Just me? Probably not. But here’s the thing: dumping glue everywhere does nothing except make a sticky mess—ask me how I know. You’ve gotta actually target the spots where the boards and subfloor move against each other. Construction adhesive works, but only if you jam it deep into the gaps, especially under those bouncy edges. That’s what the pros do, or so they keep telling me.
Carpenter’s glue (the yellow stuff, Titebond, Elmer’s, whatever) is fine for little cracks, but if you just squirt and hope, you’re wasting your time. One forum guy said, “Just flood the joint, clamp it, check tomorrow”—but did he ever mention cleaning out the gap first? Doubt it. I spent three days gluing and cursing, nothing happened until I pried the gap wider with a putty knife. Pro tip: use those plastic nozzle things, don’t finger-spread glue unless you want it stuck to your skin for a week. Oh, and if you’re curious, this DIY guide says if you let glue blobs ooze under the floor, good luck ever fixing it again.
Installing Wood Shims and Shimming Techniques
Shims. Yep, those little wedges everyone jokes about at the hardware store. I used to think they were a gimmick, but if there’s vertical movement, they actually do something. Just don’t hammer them in like you’re angry at the floor—I’ve punched right through drywall before. You want to tap the shim in gently where the subfloor dips or where the joists don’t quite meet up. The goal? Stop the movement, not bend the boards.
Saw a pro once—guy slid eight shims into a basement corner, each tap made the squeak quieter, until it was just the HVAC humming. They glued those shims in, probably so nobody could yank them out by accident (or maybe just to show off). Nobody talks about how humidity messes with the fit, though. Dry winter? Wood shrinks. Summer? Everything swells and the shims might pop out. If you’re curious about all the ways to mess this up, Upgraded Home’s tutorial covers the weirdest gaps.
Filling Gaps with Wood Putty or PVA Glue
I used to think you could just smear glue or putty into every gap and call it a day. Nope. Only fill the ones that actually move when you step—most don’t. Wood putty? That’s for tiny, non-moving cracks. Anything bigger and it’ll just crack out the next time someone stomps by.
Mixing sawdust with PVA glue actually matches pretty well—never thought it would, but here we are. Only fill the surface stuff, leave anything structural alone. The FT Worth Refinishing crew’s advice says putty is a last resort, keeps things smooth for painting or whatever later. Kids always poke at drying putty, so block it off or you’ll have little holes everywhere. And for some reason, glue stinks way more in summer. Why does nobody warn you about that?