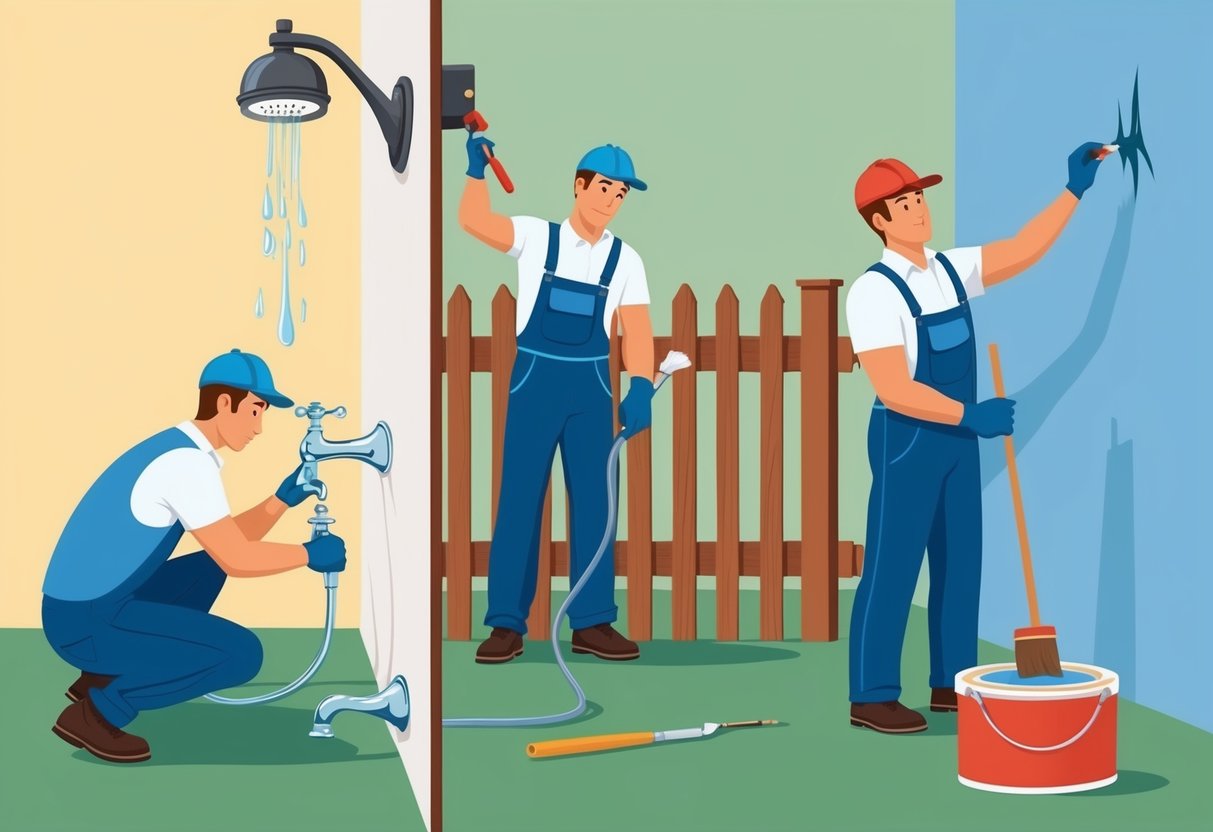
Painting and Touch-Ups for Walls and Trim
Paint touch-ups and full wall painting projects are common home improvement tasks that can refresh a room, fix imperfections, and boost property value. Achieving professional results depends on surface preparation, using the right tools, and adopting proper edging techniques.
Preparing Surfaces for Painting
Clean, well-prepared surfaces are essential for paint adhesion and a smooth, lasting finish. Remove dust, oils, and debris with a damp cloth, and let the area dry completely.
For walls with stains or marks, a mild detergent can help before rinsing and drying. Inspect walls and trim for cracks, holes, or peeling paint.
Fill small holes with spackle or filler, sand the area smooth once dry, and prime any exposed patches. Flaking paint should be scraped off, and glossy surfaces may need scuff sanding for better paint grip.
Tape off adjacent trim, outlets, and fixtures with painter’s tape to protect them from drips. Spot priming patched areas helps avoid color mismatches and ensures an even appearance.
Choosing the Right Paint Tools
Selecting the right painting tools can significantly impact the final outcome and painting efficiency. For wall painting and touch-ups, both bristle brushes and microfiber rollers are commonly used.
A bristle brush offers better control for small fixes and trim work, while rollers work well for covering larger flat areas with uniform coats. Use a quality angled sash brush for edges or detailed trim.
This tool allows for clean lines and precise application. For most walls, a 3/8” or 1/2″ nap roller provides a good balance between coverage and smoothness.
Have a paint tray handy and stir paint thoroughly before use to maintain color consistency. Only load as much paint onto the brush or roller as needed to avoid drips and uneven patches.
Storing extra paint in a sealed container is helpful for future touch-ups, as suggested by various home renovation guides and blogs.
Techniques for Clean Edges
Clean edges make painting projects appear neat and professional. Use painter’s tape on adjacent walls, trim, and ceilings to prevent mistakes.
Secure the tape firmly along the edge, pressing it down to seal out paint bleed. Cutting in is a technique where a brush is used to paint straight lines along borders.
Hold the brush at a slight angle, and use slow, controlled strokes. For a sharper line, remove painter’s tape while the paint is still slightly wet to avoid peeling.
Feathering edges, or lightly blending the edge of new paint into the existing surface, helps the touch-up blend seamlessly. Minimal pressure on the brush or roller reduces harsh lines.
When retouching, match the original paint as closely as possible in type, finish, and color for best home improvement results. For more detail, review guidance on touching up paint in home renovation projects.
Caulking and Sealing Around the Home
Applying caulk to gaps, cracks, and joints can prevent drafts, block moisture, and improve energy efficiency. Homeowners who understand where and how to use caulk can protect their property from common problems like water damage and unwanted pests.
Identifying Where Caulking Is Needed
Proper caulking is a key part of essential home repairs. Areas that commonly require attention include windows, doors, bathtubs, showers, sinks, and exterior joints.
Look for cracks or gaps where different materials meet, especially around trim, masonry, and exterior walls. Inside the home, check for deteriorating or missing caulk in bathrooms and kitchens.
Focus on areas where water might seep in and cause mold or rot. Outside, examine where siding meets windows and doors, as well as where pipes or vents pass through exterior walls.
Weather-caused wear, old or shrinking caulk, and visible gaps are indicators that repair is needed. Regularly inspecting these spots helps homeowners catch issues early.
Using caulk on these surfaces also enhances indoor comfort by minimizing air leaks and improving energy conservation.
Step-by-Step Caulking Application
Start by removing any old or damaged caulk with a utility knife or scraper. Clean the area thoroughly to remove dust, debris, and moisture.
Allow surfaces to dry before applying new caulk. Choose the right type of caulk for the location.
For example, silicone-based caulk is water-resistant and best for kitchens and bathrooms. Polyurethane caulk is commonly used for exterior sealing and offers strong adhesion, making it popular for outdoor applications.
Cut the tip of the caulk tube at a 45-degree angle, then load it into a caulking gun. Move the gun steadily along the joint, applying even pressure to create a continuous bead.
After laying the bead, use a wet finger or a caulking tool to smooth and press it into the gap. Allow the caulk to cure as indicated by the manufacturer’s instructions before exposing it to water or paint.
Following these steps ensures a weather-tight and long-lasting seal.