
Maintaining and Cleaning Gutters
Gutter maintenance is an essential part of home maintenance that helps prevent water damage and protects the roof and foundation. Consistent cleaning and inspection ensure that rainwater flows away from the home as intended and that gutters remain free of clogs and other issues.
Removing Debris Safely
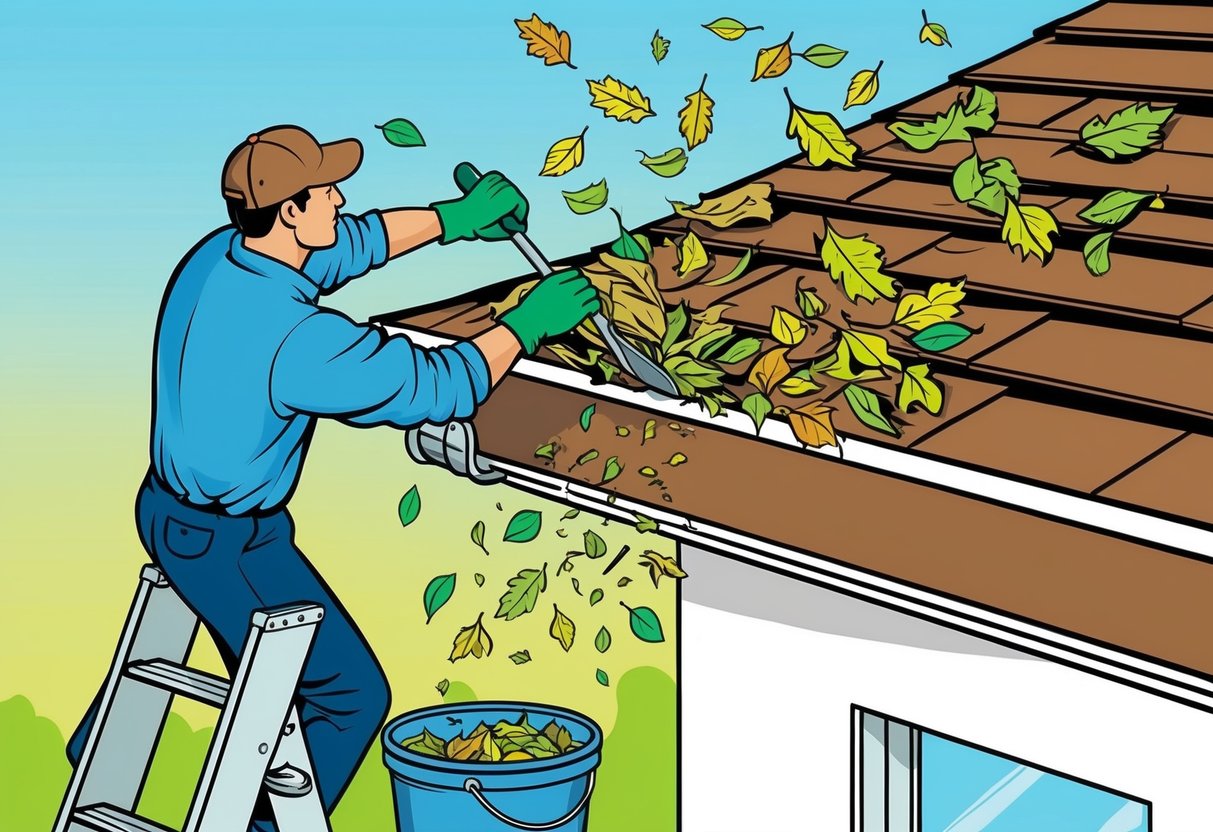
Keeping gutters clean begins with removing leaves, sticks, and other debris that collect over time. Homeowners should use a sturdy ladder placed on a flat and stable surface and wear gloves to protect their hands from sharp objects or insects.
A small hand trowel or scoop is useful for removing material from the gutters. For stubborn debris, a hose attachment or plumber’s snake may help clear out compacted areas.
Safety glasses are also recommended to guard against falling debris. It is important to check downspouts and ensure nothing is blocking the flow of water.
Some people choose to install gutter guards to cut down on cleaning frequency. Regular cleaning, especially after storms or in the autumn, keeps gutters flowing and helps avoid expensive repairs.
For a step-by-step checklist and more home maintenance tips, see this guide on DIY home maintenance.
Checking for Proper Gutter Drainage
Proper gutter drainage is critical for moving water away from a home’s foundation and preventing erosion or basement leaks. After removing debris, a homeowner should run water through the gutter using a garden hose to check for blockages or leaks.
Watch the flow of water through each section and make sure it exits cleanly out of the downspouts. If water pools or overflows, the gutter may be sagging or pitched incorrectly, which can happen over time.
Brackets and screws may need tightening to restore the original angle. Inspect joints and seams for leaks, using gutter sealant if needed.
Pipes and downspouts must direct water at least several feet away from the foundation. For more in-depth information on inspecting gutters and ensuring proper drainage, visit this list of must-know home repairs.
Quick Fixes for Common HVAC System Issues
Periodic home maintenance of the HVAC system is critical for avoiding unexpected breakdowns and costly repairs. Simple repairs and checks often solve common issues, ensuring better air quality, system efficiency, and lower utility bills.
Changing HVAC Filters
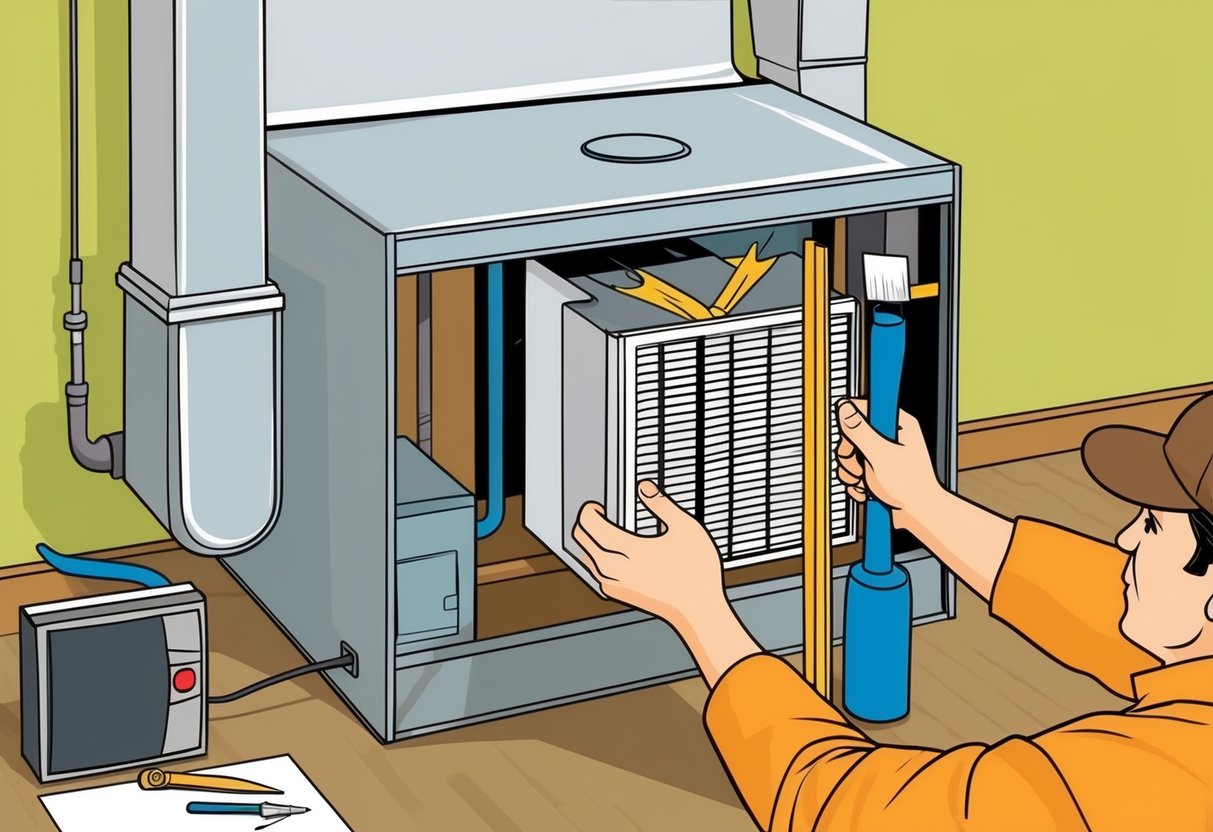
Replacing HVAC filters regularly is one of the most important DIY tasks homeowners can do. A dirty or clogged filter restricts airflow, making the entire system work harder and reducing both efficiency and indoor air quality.
Most filters should be checked every 1-3 months, especially during seasons of heavy use. To change a filter:
- Locate the filter — usually in the return air duct or near the air handler.
- Turn off the system for safety.
- Slide out the old filter and note the size printed on its edge.
- Insert a new filter, ensuring the arrows point in the direction of airflow.
- Restart the system.
Neglecting this simple task can contribute to dust buildup and system strain. Fresh filters help prevent common breakdowns and extend the life of HVAC components.
For more step-by-step guidance, visit this resource on filter maintenance.
Checking Thermostat Settings
Incorrect thermostat settings are a frequent cause of HVAC system issues. First, check if the thermostat is set to “cool” or “heat” as needed, and confirm the temperature setpoint matches your preferences and the season.
Make sure the device has working batteries, as dead batteries can disrupt communication with the HVAC system. If the system is running but not responding correctly, try recalibrating the thermostat or resetting it to the factory settings.
Clean dust or debris from the inside of the thermostat, as buildup may cause malfunctions. Programmable units should be reviewed to ensure schedules are correct, especially after power outages.
Smart thermostats often have troubleshooting tips in their manuals or apps. For more detailed instructions, reference this guide on adjusting thermostat settings.
Proper thermostat management not only improves comfort but also enhances energy efficiency and system reliability.
Door and Window Repairs Every Homeowner Should Know
Routine maintenance of doors and windows helps maintain comfort indoors, prevents energy loss, and reduces costly repairs. Proper adjustment and sealing can enhance security, boost energy efficiency, and keep the home in top condition.
Adjusting Sticking Doors
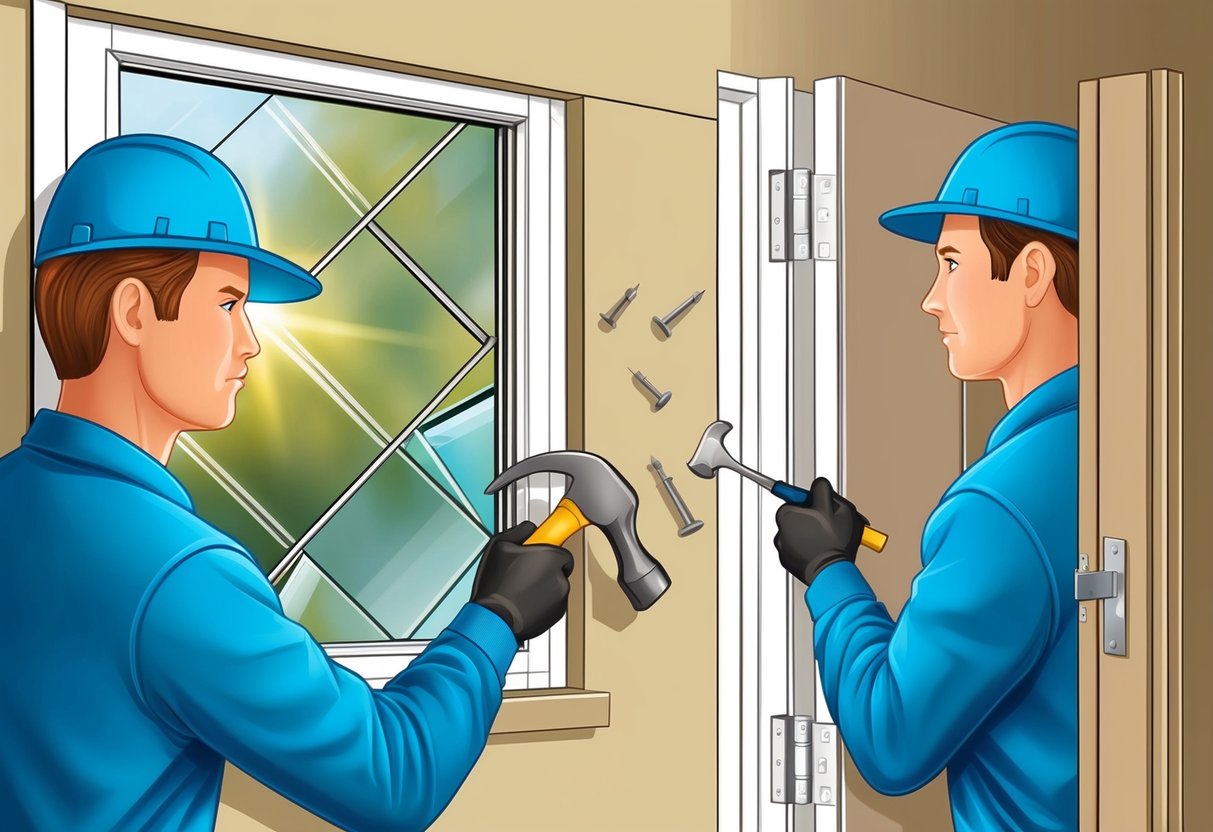
Sticking doors are a common issue in many homes due to humidity, settling, or paint buildup. Clearing away any debris and tightening the screws on the door hinges can resolve most cases.
If the door still sticks, it may be necessary to plane the edge slightly using a hand planer or sandpaper. It’s crucial to check that the hinges are flush with the door frame and are not damaged or missing any screws.
Applying a bit of lubricant to the hinges can also eliminate squeaks and improve movement. Homeowners should always check for swelling around the door during wet weather, as this can exacerbate sticking, and consider regular upkeep as part of essential DIY home maintenance.
Sealing Drafty Windows
Drafty windows are a primary source of energy loss and discomfort, especially in older homes. Homeowners can address this by applying weatherstripping or caulking around frames to block leaks.
Foam strips, felt, or V-seal weatherstripping materials are easy to install and highly effective for most window types. For windows with visible gaps, caulk can be applied around the joints and trim—make sure the area is clean and dry.
Installing insulation film for the winter months provides additional cold-weather protection. Regularly checking for drafts and resealing as needed helps ensure efficient heating and cooling.
This is a key task in any home improvement checklist.